How to Make Layered Rainbow Jelly
Here is another one of my Favourite Treats to make for Parties and Celebrations!
If you’ve been reading my other blogs on my party website, you know how much I love making Themed Foods that are Delicious, Simple, and Adaptable for any Special Day. They’re the sort of treats that make guests, especially the little ones, smile and enjoy!
Today I want to share my Layered Rainbow Jelly with you. It’s Super Easy to make. It looks Beautiful on the Party Food table and can be coordinated into Any Party theme by choosing matching colours.
Here’s how to make it:
Ingredients
Before you get started, make sure you gather all the Ingredients. These are affordable and easy to find at any store.
For 12 servings of Layered Rainbow Jelly, you’ll need:
- 12 Clear Cups
- Powdered Jelly Packets in your Choice of Colours
- 2 Cans of Condensed Milk
- Large bowl or jug for mixing
- Spoon
If you want to make more servings, simply increase the ingredients accordingly. Each packet of powdered jelly is enough for one layer in 12 cups, so I use that as my guide when I’m buying ingredients and deciding on how many colours I want to use.
Directions
I like to spread out my clear plastic cups on a counter or table, so I can add the ingredients for my Layered Rainbow Jelly as I go. You’ll need to move these cups in and out of your fridge a few times, so you can use a tray or baking sheet to make this easier, too.
Here’s how to go about filling the cups to make this delicious Layered Rainbow Jelly:
- Put your cans of Condensed Milk in the Fridge to Cool.
- Prepare your first Jelly Colour as per instructions on the box. I like to prepare mine in a jug to make them easy to pour.
- Pour your first prepared Jelly colour to make a bottom layer in each cup.
- Put the cups in the fridge to cool for 2-3 hours.
- Take the cups out of the fridge and spoon a small layer of cooled condensed milk on top of the solid jelly layer.
- Put the cups back in the fridge for about 30 minutes.
- Continue steps 3-6 until you have the number of Jelly Layers you want. Keep your Finished Jellies in the fridge for up to three days before your party!
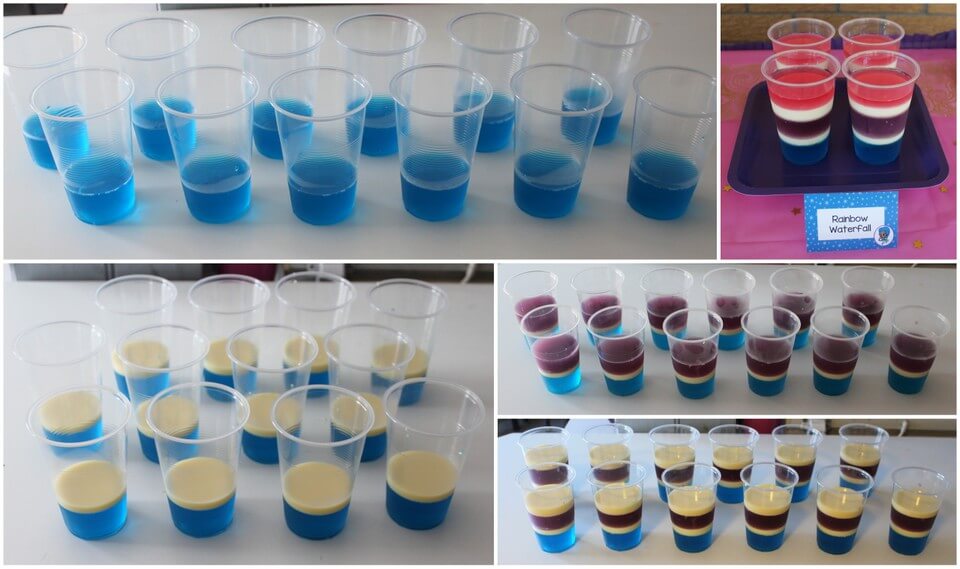
Here’s a collage of photographs showing each step of the process to make Layered Rainbow Jelly. These had three layers of Jelly and two layers of condensed milk:
Tips and Variations
As you can see, this recipe for Layered Rainbow Jelly is incredibly Easy!
But it does take a little bit of time, since you need to let each layer cool. And you’ll also need a good amount of room in your fridge to let the jelly set and to store it. So my biggest tip is just to make sure you give yourself enough time and room!
After that, these Layered Rainbow Jellies are really up your Imagination. I think that three Jelly Colours is perfect for the clear cups, but you could do just two, or repeat a colour, or even try to mix Colours for the perfect shade.
These are so Easy for Kids to eat, too, and they’ll go with any Party Theme!
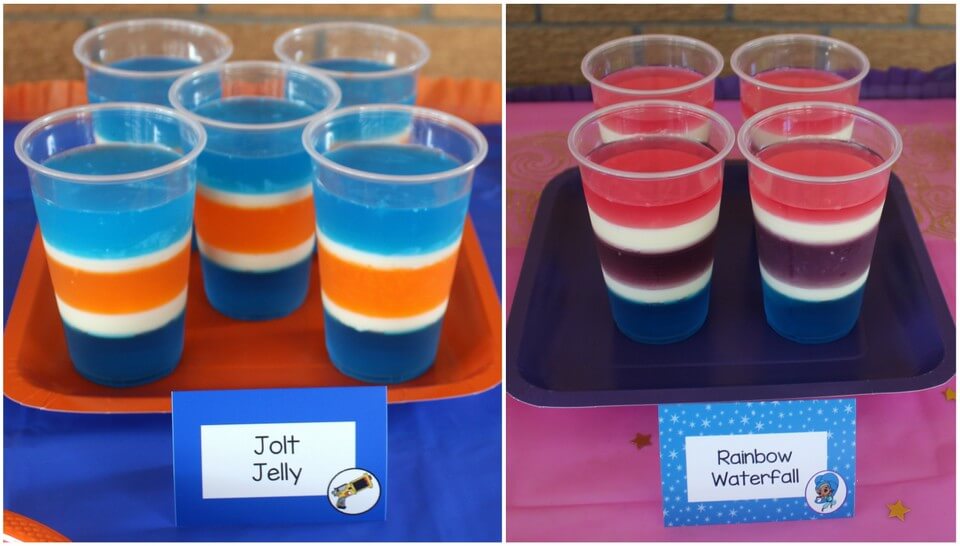
Here are two that I’ve made, below. The Blue and Orange colours were perfect for 'Jolt Jelly' at Donte's Nerf themed Birthday Party. And we took it one step further at Isla's Shimmer and Shine theme Party, and used triple colours!
Environmentally Friendly Options
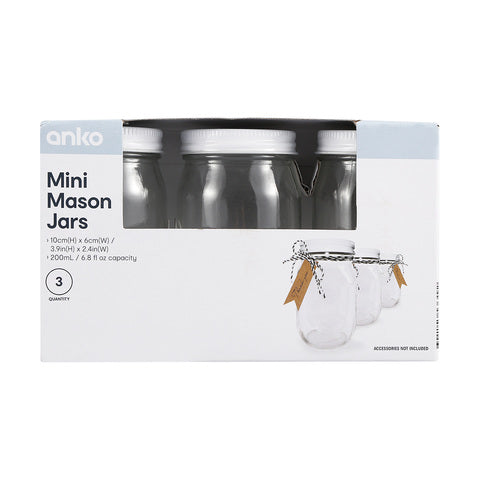
If you're looking for an environmentally friendly option to use instead of plastic cups, check out Mini Mason Jars from Kmart, or even their preserving jars would be another fantastic alternative. Brilliant for keeping flies out of the jelly too, as they come with lids. Of course, we can't forget the added bonus that they can be washed and re-used for your next party!
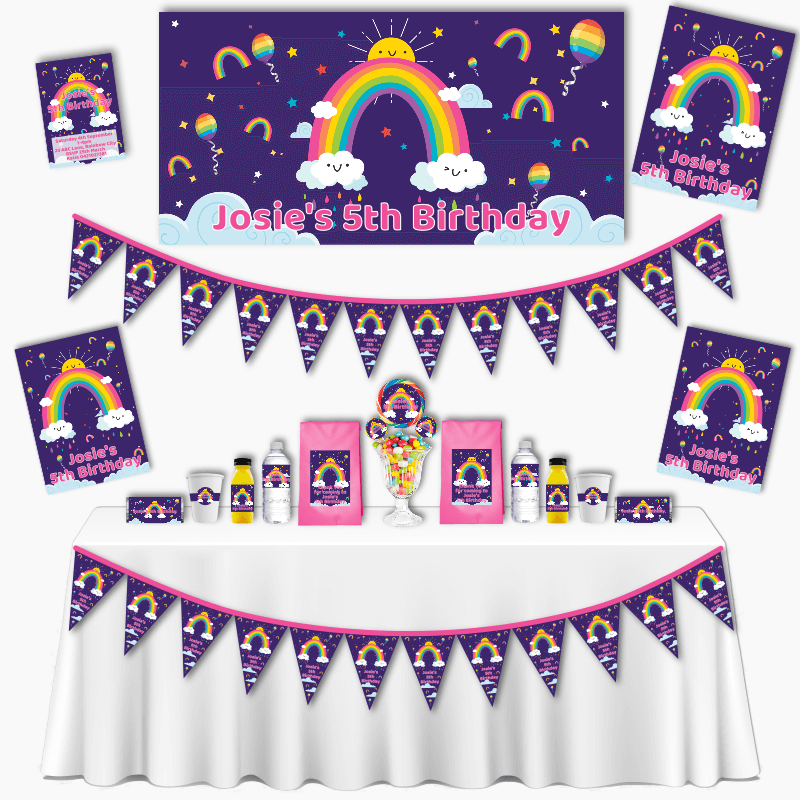
I hope I’ve inspired you to add these to your list of go-to party treats. And don’t forget to check out my other ideas and Collections of Personalised Decorations at Katie J Design & Events! We have a Fantastic Collection of Rainbow themed Party Decorations, including our Gorgeous Colourful Rainbows Decorations, below.





Leave a comment (all fields required)