My daughter Paige’s 5th birthday is this week, and I was thinking of ideas for her Birthday Cake. If you know me, you know that I’m not a huge baker or fancy decorator, but I love a good Birthday Cake Hack that looks Awesome and tastes Delicious.
Then I realized that I still haven’t shared the Amazing Cake that we made for Paige’s 4th birthday last year. It was a Princess Castle Cake and I love how it turned out.
It might sound complicated, but trust me, this is a true Birthday Cake Hack. It was so easy to make. I have all the ingredients, supplies, and directions below!

Ingredients
The ingredients I used for the Princess Castle Birthday Cake Hack are easy to find in the store. There also aren’t that many total ingredients, so this recipe also isn’t complicated or very expensive.
You’ll see that the first ingredient I have listed below is Coles Double Plain Sponge. I buy these Premade, but you can certainly use a box mix or Bake a Cake from scratch if you want to. Just make sure it’s a Sturdy Cake that you can stack.
• 3 x packets of Coles Double Plain Sponge
• Mini marshmallows
• M & M's
• Sprinkles
Here’s a picture of the Items I purchased for the cake! I know that sometimes it helps to see images of what you need to pick up from the store:

Directions
Paige’s Princess Castle Birthday Cake Hack was so simple to put together!
If you don’t want yours to look exactly like Paige’s, you might want to do a little planning, but here’s an idea of the basic structure of the cake before it’s decorated:

First, I cut up the Sponge Cakes and arranged them. For a Castle Effect, I stacked layers of sponges on top of each other. There were three sponges on the bottom, three 1/2 sized sponges in the middle & three 1/4 sized sponges on top.
We used the Mini Jam Rolls on the corners of the base of the cake, and put the ice cream cones on top of each Jam Roll and one on the very top tier of the cake. These made perfect Princess Cake towers.
For decorating the cake, we dipped the tips of each Ice Cream Cone in melted White Chocolate, followed by Sprinkles. While these cooled in the fridge, we iced the cake with pink frosting, which was just some of the Betty Crocker Frosting with a little food colouring.
If you want, you can also frost between each of the layers, but I just Iced one layer over the top for a Great Pink Castle.
For a few finishing touches, we added some Purple M&Ms arranged like Flowers and a Door. When the chocolate was set on the Cones, I put a long skewer in each so they’d stay in place on the Cake.
Finally, we added the Mini Marshmallows with toothpicks.
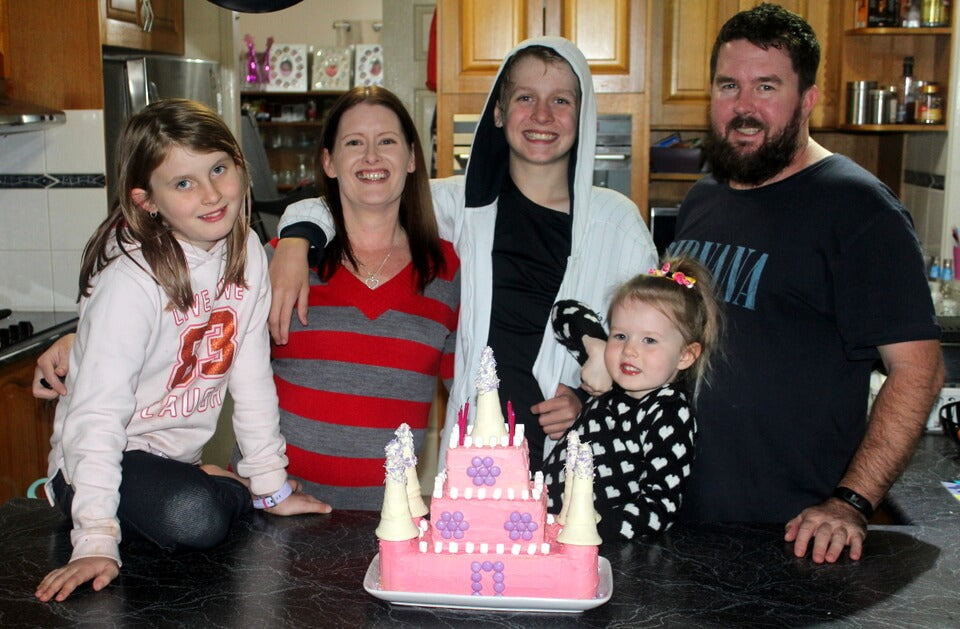
Here’s a picture of the finished Princess Castle Birthday Cake Hack:

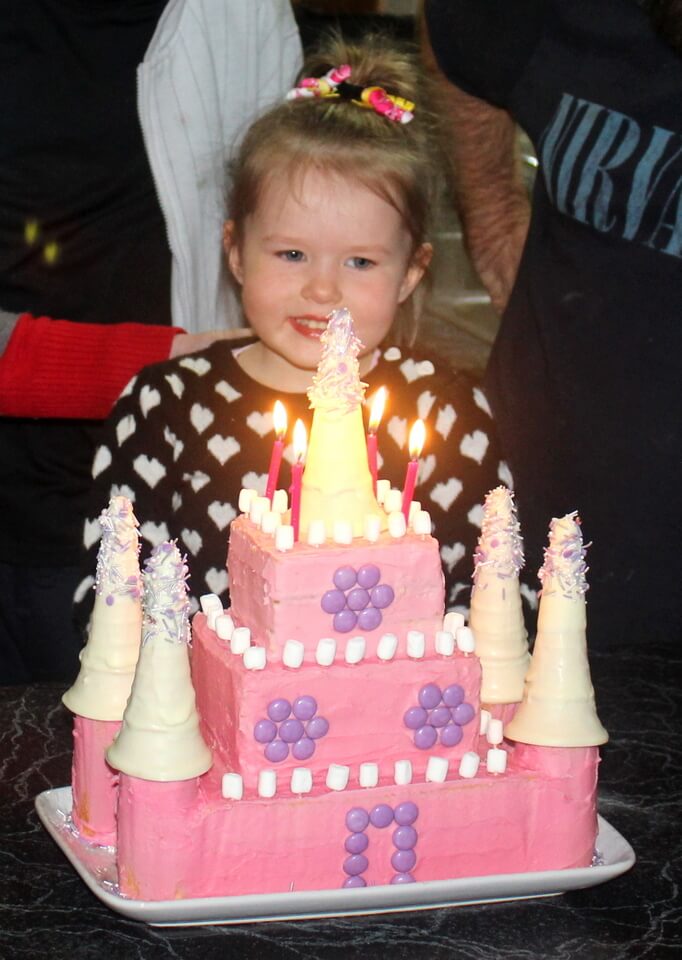
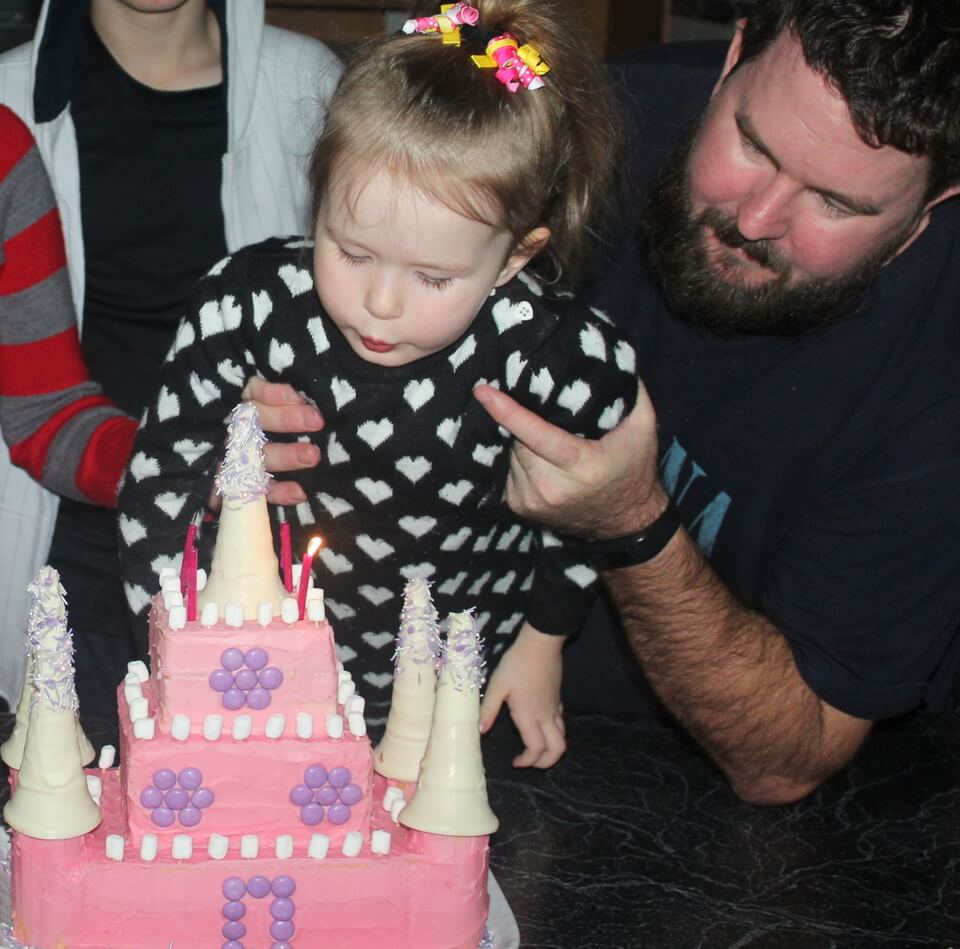
And some Photos of the Birthday Princess with her Princess Castle Cake and blowing out the Candles. What a Wonderful evening we had Celebrating Paige's Birthday.


Variations
Feel free to use different colours and Candy Decorations to make this Princess Castle Birthday Cake Hack your own. These colours are great for a little girl, but with some changes the basic Cake could also be a Medieval Castle for Dragons!
And once you have the basic idea of stacking cakes to make a shape, the Ideas are Endless and could go with almost any theme!
Make sure to visit us at Katie J Design and Events for Fun, Customisable Party Decorations in almost any Theme. We have Beautiful Pink Princess Party Decorations which would go perfectly with this cake. Check it out Below!
Looking for more Party Ideas or Inspiration? Parties by Katie J is where you will find Helpful Advice on How to Throw a Great Party that Everyone Loves! We will be Sharing Easy and Delicious Party Recipes along with some Amazing DIY tips for Creating a Fun Celebration. Subscribe to our Newsletter to get Updates and Special Offers.


Leave a comment (all fields required)